Use USB for Recovery
This page explains how to use the OV20i's micro-USB port for emergency access and recovery when standard network connectivity fails or troubleshooting is needed.
When to Use USB Recovery
USB recovery access should be used when:
- Network Connection Issues: Cannot access camera via standard Ethernet IP address
- IP Conflicts: Camera IP conflicts with other network devices
- Unknown IP Address: Camera IP has changed and is unknown
- Emergency Access: Need immediate access regardless of network configuration
- Troubleshooting: Network settings need to be reconfigured
Physical Connection Setup
Step 1: Expose the Micro-USB Port
Remove the rubber side flap on the OV20i to expose the auxiliary connections.
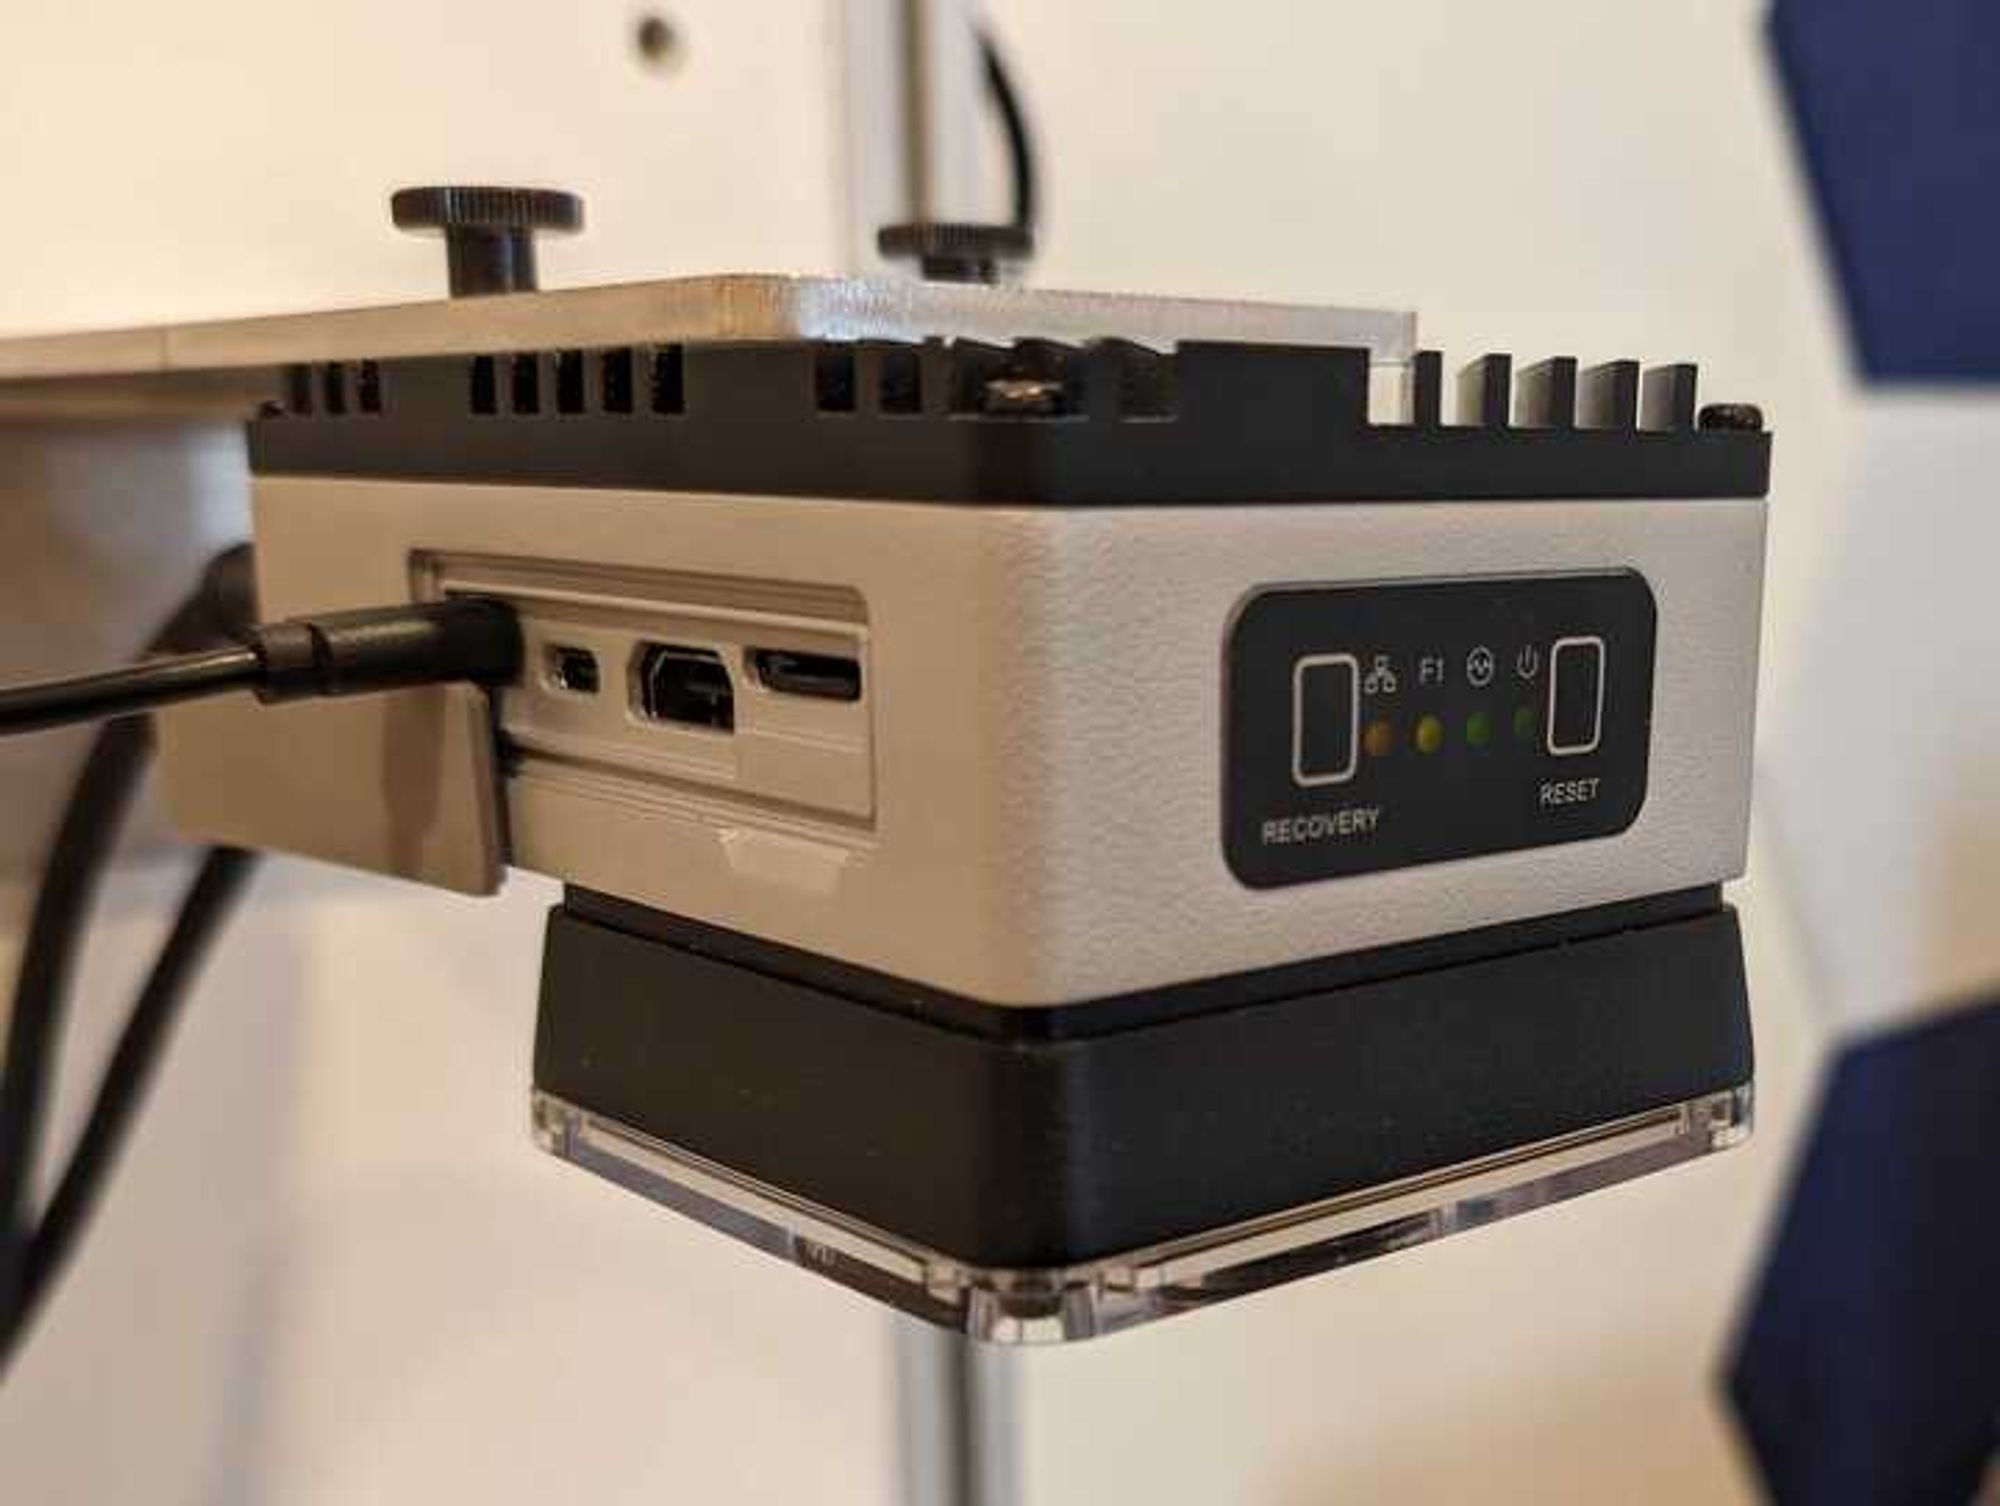
Step 2: Connect the Cable
Connect a micro USB cable from the camera to the computer you will use to connect to the OV20i.
Connection Requirements:
- Micro-USB cable (standard USB-A to micro-USB)
- Computer with USB port and web browser
- Camera must be powered on
Accessing the Camera Interface
Step 3: Connect via Browser
Open your browser and enter the IP address 192.168.55.1 to connect to the OV20i software.
Key Benefits:
- Fixed IP Address: This IP address never changes
- No Configuration Required: Does not require configuration of your network adapter
- Immediate Access: Works regardless of network settings
Emergency Access Advantages
Why USB Recovery is Reliable:
- Independent of Network: Works even with network issues
- No IP Conflicts: Uses dedicated IP range (192.168.55.x)
- Always Available: Micro-USB port is always accessible
- Instant Connection: No need to modify computer network settings
- Troubleshooting Ready: Perfect for diagnosing network problems
Common Recovery Scenarios
Scenario 1: IP Conflict Resolution
When camera IP conflicts with router or other devices:
- Connect via micro-USB (192.168.55.1)
- Navigate to Settings > System
- Click Edit to change network settings
- Configure unique static IP address
- Save and restart camera
Scenario 2: Unknown IP Address
When camera's current IP is unknown:
- Use micro-USB access (192.168.55.1)
- Check current network settings in Settings > System
- Note current IP or reconfigure as needed
- Test new settings after restart
Scenario 3: Network Adapter Mismatch
When computer and camera are on different subnets:
- Connect via micro-USB (192.168.55.1)
- Access camera without changing computer network settings
- Reconfigure camera network settings to match your network
- Switch back to standard Ethernet connection
⚠️ Important Considerations
Mac Users: If you're connecting using Google Chrome on a Mac, you may get an error - "This site can't be reached" (ERR_ADDRESS_UNREACHABLE). You'll need to go to MAC OS System Settings > Privacy and Security. Then scroll to find Local Network. Make sure it is enabled for Google Chrome.
Power Requirements:
- Camera must be powered on for USB recovery to work
- USB connection is for data only - camera requires separate power supply
Transitioning Back to Network
After resolving issues via USB recovery:
- Configure Network Settings: Use USB access to set proper IP/subnet
- Save and Restart: Apply changes and restart camera
- Test Network Connection: Verify new network settings work
- Document Settings: Record new IP for future reference
- Disconnect USB: Remove micro-USB cable once network access confirmed